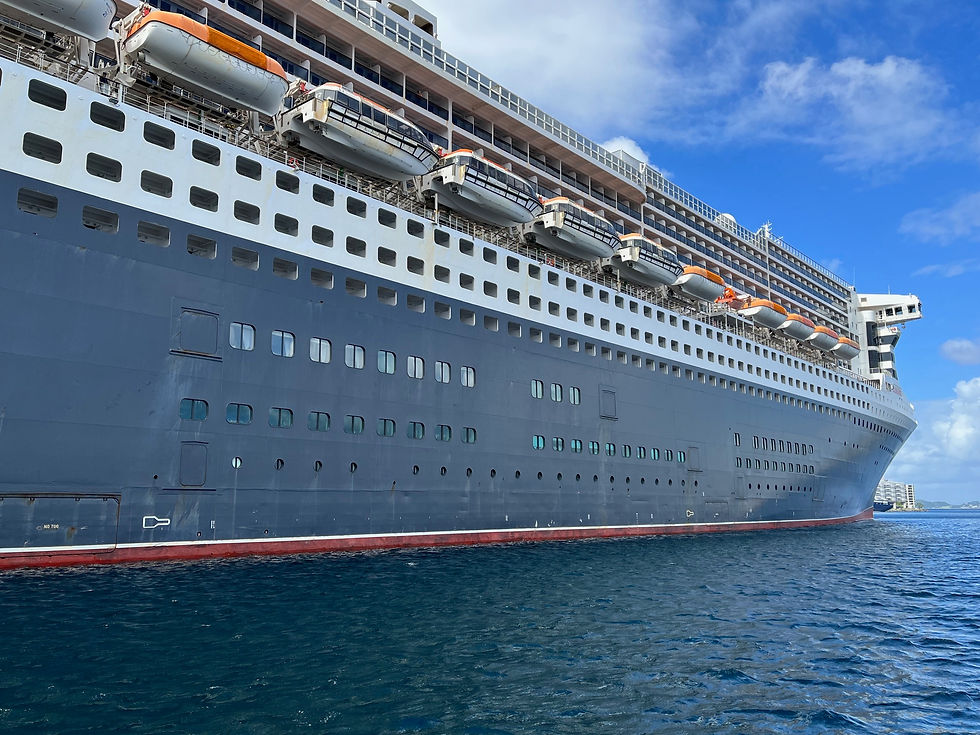
Ship hull shape reconstruction.
- Alexander Alexanov
- Jun 5, 2020
- 3 min read
Restoring the surface of an existing ship is one of the common tasks encountered in my practice. The initial data for this task can be completely diverse. From the coordinates of the points in the offset table, the body lines drawing, the point cloud, etc.

The surface can be restored quite accurately, even if only a paper lines drawing or even only paper structural drawings are preserved. In this case, I prefer to use scanned drawings as a substrate in AutoCAD, on top of which I build the required lines. The original drawing may have distortion after scanning, which must be minimized to obtain an acceptable result. Two-dimensional lines are imported into Shape Maker.

Sometimes, in the process of modernizing existing ships, part of the original documentation may be lost, and the success of the entire modernization depends on how well the surface restoration is performed. In my practice, one of such works was the replacement of the bottom and double bottom of a chemical tanker, according to which only drawings of hull structures remained. As a result, the shipyard specialists noted the high accuracy of the coincidence of the new surface with the remaining part.

Even if you use the coordinates of the points in the offset table, I prefer to build 3D sections along these coordinates in the Shape Maker. This shows the shape of the surface more clearly than just a set of points.

Not so long ago I was approached by one and partners with a very unusual offer. To study hydrodynamics and optimize fuel consumption, it was necessary to restore the surface of the hull. The peculiarity of this proposal was that the vessel was not new, and from the information about the geometry of the surface of the vessel’s hull there was only a set of hull drawings. That was all the shipowner managed to find. Of course, to assess the hydrodynamics of the vessel, an absolutely accurate approximation to the original form of the hull was not required, but it was possible to deviate from the original only within reasonable limits.

Usually, when 2D drawings are used as initial data for surface modeling, I use the following technology for modeling: - lines of fore part frames are placed in the plane of the fore perpendicular, - the lines of the aft part frames are placed in the plane of the aft perpendicular, - waterlines are placed on the base plane, - buttocks in the center plane, - the grid of sections of the model is set in accordance with the grid of sections of the original 2D drawing. Based on the initial data and the cross-sectional grid, surface sections are specified and adjusted in accordance with the cross-sections of the surfaces on different projections. Dynamic display of surface sections makes it easy to combine them with the corresponding lines of a 2D drawing. In this case, the adjustment of the surfaces is carried out manually.

You can spend extra time and distribute the lines of the original sections in their respective planes, create a 3D model of the source lines and smooth the body in 3D. Ho, as a rule, sections of the original drawing on different projections do not correspond to each other. This will create additional difficulties and increase the time required to complete this work.

In our case, the time taken to prepare the initial data took much longer than the surface modeling itself. Hull drawings were presented in the form of scans of paper documents, which were used as a substrate for constructing lines of sections of the hull. Each scan of the drawing needed to scale and snap to the origin of the coordinate system before constructing a section line. After that, all sections were transferred to one view and exported to Shape Maker. Further modeling is only a matter of time and experience using the program. Modeling a surface based on such information is not a very common, but quite feasible task.


Lined fairing process can be split for several stages.
1 - adjustment to initial hull shape ( frames, waterlines, buttocks)
3 - check curvature of sections first frames, than longitudinal. At this stane even very small changes og control points position can change curvature a lot.
3 - check curvature of sections first frames, than longitudinals. At this stane even very small changes og control points position can change curvature a lot.
4 - finally control with shaded surface, zebra and etc...
Bery useful information. When fairing a hull in Shapemaker which curves you give priority and make smooth (fair)? The transverse sections (station frames) the waterlines? the buttocks ? Which curves you give priority and fair 1st?