
Fishing vessel hull shape modification.
- Alexander Alexanov
- Sep 30, 2019
- 5 min read

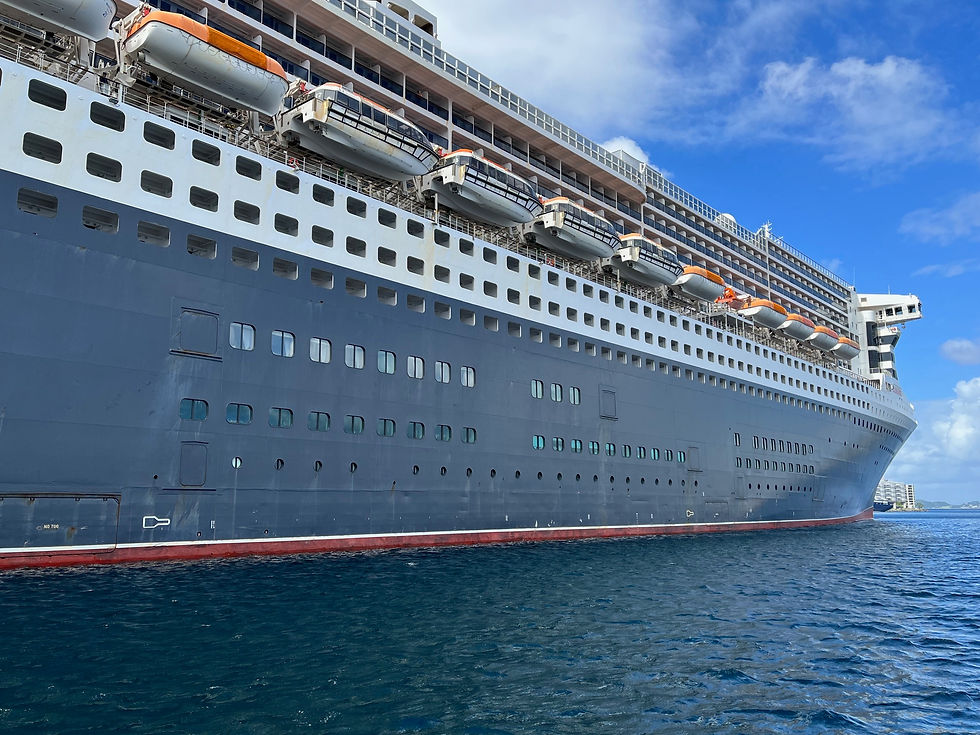
Designing the hull surface of fishing boats has never been an easy task. This is especially true for medium-length vessels. The ratio of the main dimensions, the strict requirements for the stability of the vessel, the maximum possible volume of the fish hold and, at the same time, a sufficiently high speed and low hull resistance. All this makes the design task difficult. It remains only to add to this the bulbous contours of the fore ship and the stern skeg in combination with the rake of keel and the flat-keeled bottom. I already described a typical fishing vessel model in Shape Maker in the article “Fishing vessels surface model”.
More than a hundred surfaces of various fishing vessels were made by me in Shape Maker. As experience shows, in the design process, the surface of the body undergoes significant changes. In this case, it is very important to create a model that could be easily transformed. I will try to list below the main options for changing the hull shape of the fishing vessels.

Scaling.
The simplest model change is to scale the model along the coordinate axes. This method allows you to almost instantly change the shape of the body. At the initial stages of design, this is a fairly effective method to make the first approximation of a new hull shape, to calculate the main characteristics and stability. I think that almost every designer uses this in everyday practice. When scaling, as a rule, various coefficients are used along the coordinate axes. This allows you to quickly get a hull shape with new major dimensions and, at the same time, distorts the shape of the hull. For example, the bilge radius may transform into an ellipse. This is especially noticeable on ships with a rake of keel and a keeled bottom. Scaling along the length of the vessel changes the angle of the rake of keel. And it becomes clear that this method is only suitable for a quick assessment of the characteristics of the hull at very early stages of the project. To obtain a more correct model, several other methods are required. Below I will try to describe the ways to modify the hull of a fishing vessel, available in Shape Maker. Due to the fact that lines, corner points and surfaces are topologically connected in Shape Maker, changing the shape of the surface is relatively simple. When changing the shape of the boundary line, all surfaces adjacent to this line change their shape according to a given law. For more information, see the article “Topological elements in the Shape Maker”. The mathematical model in Shape Maker is design in such a way that after changing the model there are no gaps between the surfaces appears. This is one of the important advantages.

Lengthening of the hull without modification of the existing fore and aft ship.
A few years ago, it was fashionable to lengthen fishing vessels. The state did not provide subsidies for the construction of new ships, but repairs and extensions were funded by the state. In this case, the body was cut in the midship frame area and a cylindrical part was added. The fore and aft parts remained unchanged. In this case, minor knuckles were allowed on the surface of the body at the junction of the fore and aft ship with a cylindrical part. There were so many orders to extend the hull that the design company, I worked with, asked me to take this opportunity into account when modeling the surfaces of new ships. Indeed, if you take into account the possibility of lengthening the case in advance, then modifying the hull shape in ShapeMaker takes several minutes. It is enough to just shift the fore ship along the keel line to the required value and move the entire hull down so that the start point of the new midship frame lies on the base plane. If in the original model a cylindrical insert is specified, at least for one spacing, then when the fore ship is moved, the cylindrical part will automatically lengthen. Moreover, there will be no knuckles on the surface in the area of transition from the fore and aft ship to the parallel midbody.

Hull lengthening with local shape modification.
Unfortunately, not all fishing vessels can be extended this way, as described above. Often the midship-frame of a fishing vessel is not always the maximum area section. The cross section of the maximum area is often shifted to the stern. In this case, the condition for specifying tangents on the midship frame parallel to the keel line fails. In this case, you can use the local surface modification mode. In ShapeMaker, there are several modes for changing the shape of a surface when the boundary curve changes. For the lengthening operation, I recommend using the local form change mode, indicating the area of change. After that, we shift the fore ship along the keel tilt line to the required length. Part of the surface of the aft end adjacent to the midship frame will change. In order to make the change in the shape of the surface in the region of the midship frame more uniform and natural we shift the midship-frame line back by half the required length. After that, it remains only to shift the entire hull vertically so that the starting point of the midship frame lies on the main plane and slightly correct the surface shape in the middle part, if necessary.

Changing the angle of the rake of keel.
Quite often, in the process of designing fishing vessels, the length of the vessel and the pitching angle change. To do this, ShapeMaker uses the shear function. At the same time, it is often required to change the slope of the keel and the bottom surfaces adjacent to the keel and leave the upper part of the body unchanged. To do this, indicate which area of the surface will be modified when the keel tilt changes. Similarly, you can change the angle of inclination of the flat keel bottom. In this case, the area of change of adjacent surfaces is desirable to set bigger.

Changing the shape of the stem profile.
For ShapeMaker, this is just a common situation. ShapeMaker was originally conceived as a set of topologically related objects that are dependent on each other, so when the shape of the stem is changed, the main surface of the hull will also change. Only in this case, it is desirable to use the surface modification mode while maintaining tangents when adjoining the stem. This will allow you to more accurately maintain the original surface shape in this area. It is also important to indicate the correct area of surface change. If the area of change of the surface is too small, then the surface will look crumpled. If the area is too large, then the change in shape stem profile will spread to most of the bulbous bow. In any case, the shortcomings of automatic shape changes are easily corrected manually.

Change in the slope of the keel bottom.
Similar to changing the rake of keel angle, you can use the shear function to change the angle of the keel bottom. For a shear, I recommend that you select a region of the surface that is completely breathtaking on the bilge line on the midship frame. When modifying, it is best to set up a large region of modification. This will give a more correct surface and manual modification will be minimal. Modification while maintaining tangent along the boundaries of surface areas will be the best choice in this case.

The transformation process is shown in the following video. Using the above methods allows you to quickly change the existing model, for use in a new project or in the process of modifying an existing project. And, as mentioned above, the changes will work out best if the case model is set correctly.


Comments